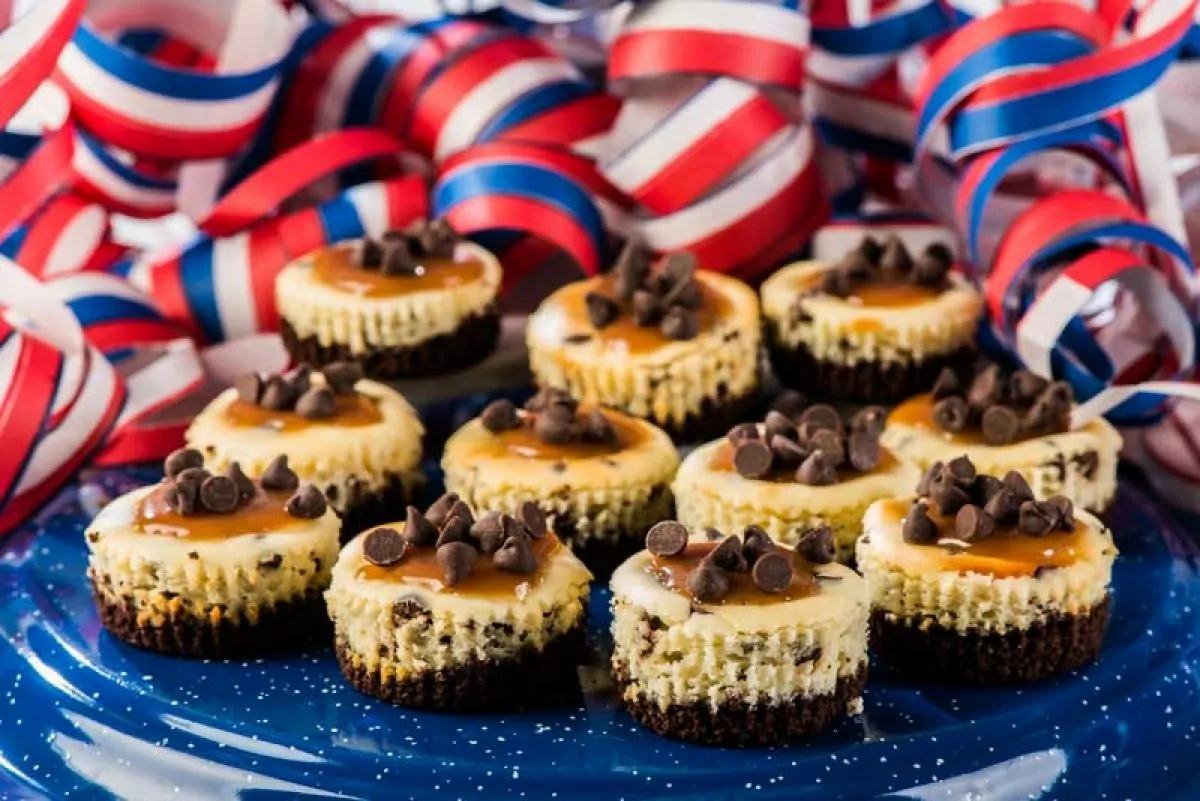
Salted Caramel Chocolate Chip Cheesecakes
June 28, 2017
Salted Caramel Chocolate Chip Cheesecakes dotted with mini chocolate chips celebrate the American July 4th holiday with flare. The rich and creamy batter, baked over? a thick layer of crunchy chocolate, is finished with a drizzle of salty caramel. Each layer bursts? with New York cheesecake flavour. Witness the frenzy around the dessert table, as big-eyed children reach for handfuls of mini cheesecakes. Adults appreciate bite-size morsels too, as there’s no need to commit to the calories of a whole slice. End your Independence Day picnic with a bang by serving these velvety Salted Caramel Chocolate Chip Cheesecakes. Or serve them anytime throughout the year.
A historical note: New York Style cheesecake is not the same as the cheesecakes of the Romans or Greeks. Theirs were made for religious ceremonies, and were probably lighter in texture. Like today’s cheesecake, styles vary depending on the local cheeses. The French make cheesecake with Neufchatel.? The Italians use ricotta. The Americans make cheesecake with a denser, heavier cheese, commonly known as cream cheese. It was developed in? 1880 by a guy named William Lawrence who added heavy cream to a Neufchatel recipe to make it thicker. Commercial brands of cream cheese add stabilizers for consistent spreadability. As an ingredient in baking, it works perfectly every time. Use grocery store brand cream cheese in your Salted Caramel Chocolate Chip Cheesecakes and enjoy a bite or two of these dense, velvety morsels.
Thank you Sally for this recipe. I’ve adapted it slightly to fit the mini format.
The Finer Cookie is a participant in the Amazon Services LLC Associates Program, an affiliate advertising program designed to provide a means for websites to earn advertising fees by advertising and linking to amazon.com. This post contains affiliate links, which means The Finer Cookie will receive a small commission if you make a purchase using this link. This modest income helps support the website.
Ingredients
Chocolate Wafer Cookie Crust Ingredients
- 1 cup 99 grams 3.5 ounces chocolate wafer crumbs store bought or homemade. See how to make your own homemade chocolate wafer cookies.
- 1/4 cup 100 grams 3.5 ounces unsalted butter, melted
Cheesecake Filling Ingredients
- 1 cup 224 grams 8 ounces cream cheese room temperature
- 1/2 cup + 2 tablespoons 75 grams 2.6 ounces granulated white sugar
- 2 tablespoons 30 grams 1 ounces plain yogurt, any fat content will work well.
- 1 1 (50 grams) 1.75 ounces egg
- 1 teaspoon 1 teaspoon 1 teaspoon pure vanilla extract
- 1/2 cup 85 grams 3 ounces mini chocolate chips
- sprinkle sprinkle sprinkle fleur de sel
Salted Caramel Ingredients
- 1 cup 200 grams 7 ounces granulated white sugar
- 6 tablespoons 90 grams 3 ounces salted or unsalted butter, room temperature
- 1/2 cup 120 grams 4.25 ounces heavy cream
- 1 teaspoon 105 grams 3.7 ounces finely chopped (if using unsalted butter, add an extra pinch of salt)
Instructions
Make the Chocolate Wafer Cookie Crust
- Preheat the oven to 350F
- Melt butter and set aside.
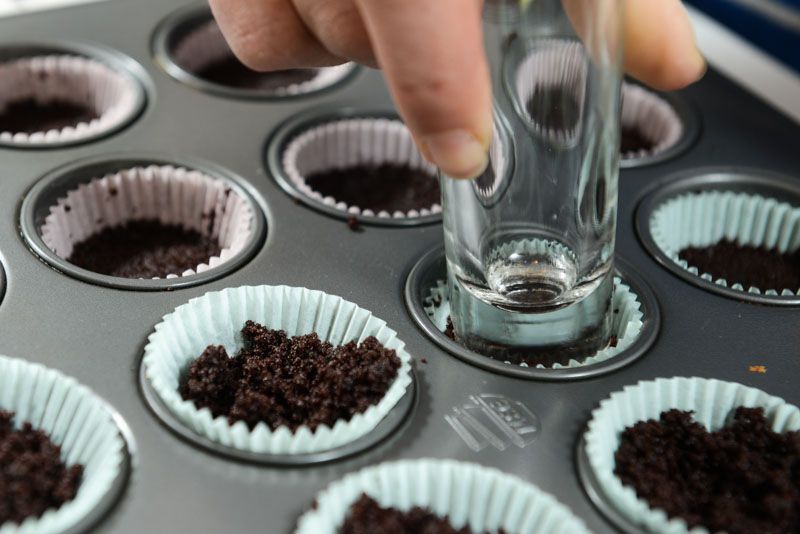
- Prepare a 20 cup mini muffin tin by lining each cup with parchment liners (1.25″ x 7/8″ high)
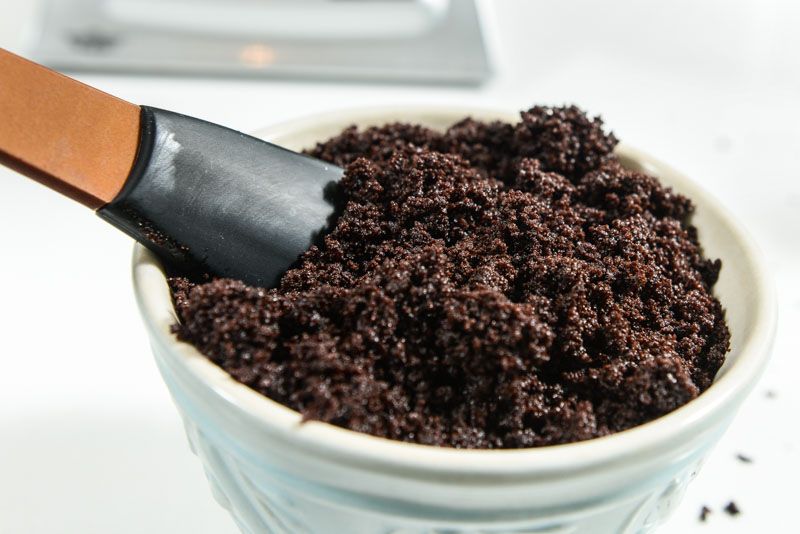
- In a food processor or blender, pulse the Homemade Chocolate Wafer Cookies or whole Oreo Cookies until finely ground.
- Add melted butter and pulse until the crumbs are evenly moistened.
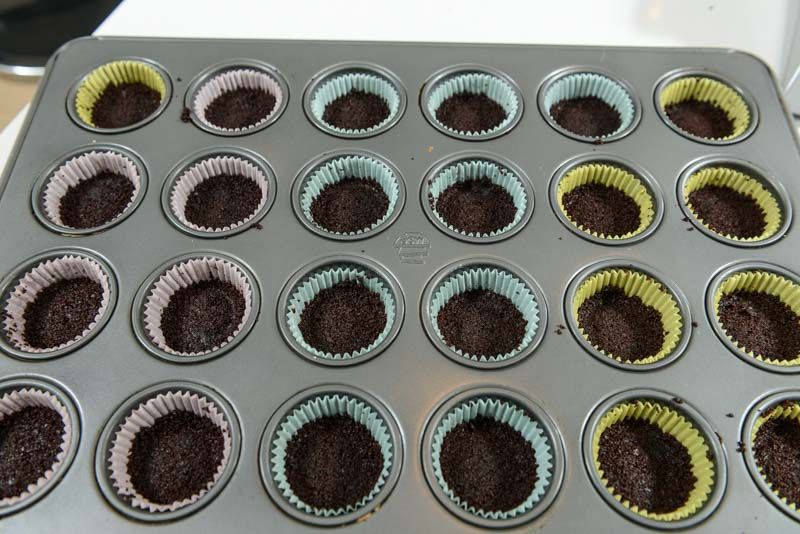
- Fill each cup with 1.5 tablespoons (6 grams) of cookie crust. Tamp down firmly with the back end of a glass or wooden dowel. Anything that fits into the corners of the cup will be fine. The pressed cookie crust should fill 1/4 to 1/3 of the cup.
- Store the remainder of cookie crust for another application. Sprinkle it over ice cream or fill ramekins and cover with chocolate pudding. Remainder of cookie crust can be frozen, as well.
- Bake at 350F for 5 minutes or so until the crust feels set.
- NOTE: You can use a 12 cup muffin tin if you prefer larger cheesecakes. I like them mini-sized because a little bit goes a long way. (They’re rich.)
Mise en Place the Cheesecake Filling
- What is mise en place and how could it benefit you? See The Finer Cookie’s post How to Mise en Place.
- In the bowl of a stand mixer or a hand mixer, measure the cream cheese and set aside.
- In another small bowl, measure the yogurt and sugar and set aside.
- Crack the egg into a small bowl and add the vanilla. Set aside.
- Measure the mini chocolate chips into separate bowls and set them aside too.
Mix the Cheesecake Filling
- Beat the cream cheese with a paddle attachment (in a stand mixer) or a whip (with a hand mixer) until smooth, soft and creamy.
- Add the sugar and yogurt mixture, and beat until combined.
- Scrape down the bowl often.
- Add the egg and vanilla and beat well until smooth. Scraping the bowl as you go to ensure everything is incorporated.
- Add the mini chocolate chips and mix.
Fill and Bake the Cheesecakes
- With two spoons or two mini spatulas, fill each cup until nearly full. Leave room in the cups for the filling to puff as they bake.
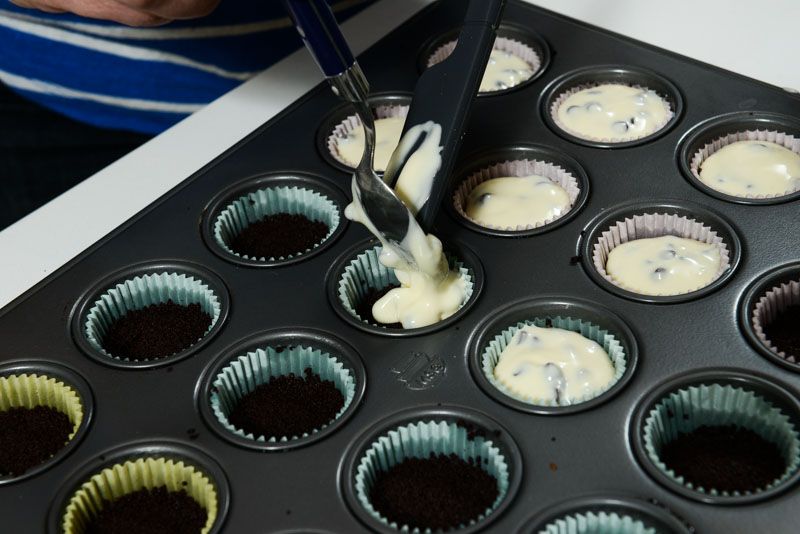
- Fill each cup and bake at 350??F 15-20 minutes (for the minis) and 20 to 25 minutes (for the larger cups). The filling will jiggle even when set. Removing them at this stage will give you a creamy cheesecake. Leaving them in the oven to bake longer will yield a slightly drier cheesecake.
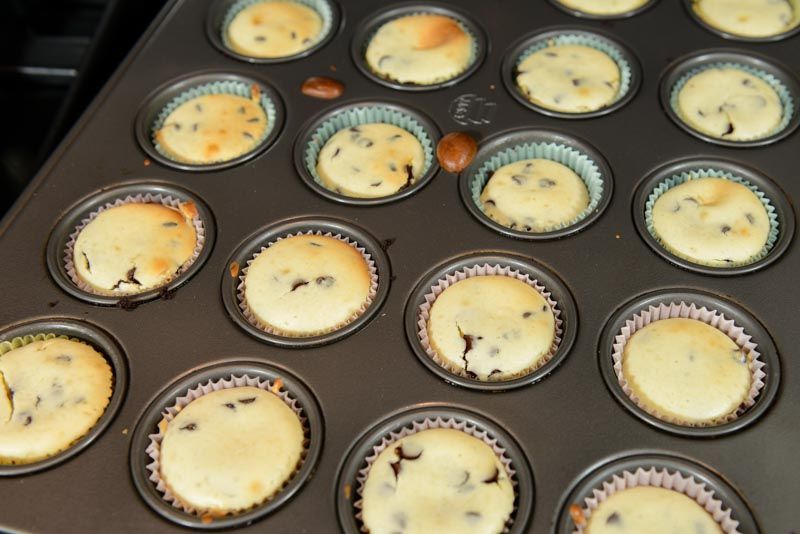
- As the cups cool, they will deflate and create a tiny depression. This is where you’ll spoon on the salted caramel. Allow the cups to cool completely before the next step. Chilling the cheesecakes for at least 2 hours will produce the proper texture.
Mise en Place the Salted Caramel
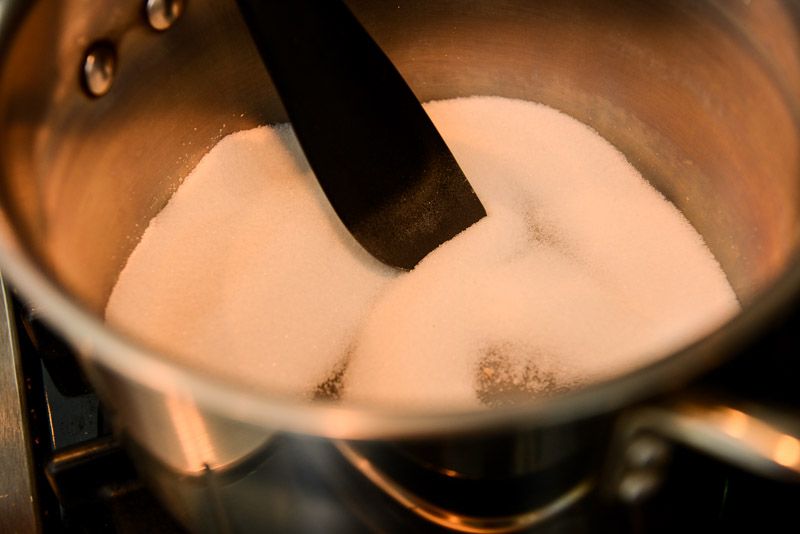
- Pour the dry granulated sugar into a roomy saucepan to allow for expansion when it bubbles up.
- Measure the butter and let it come to room temperature.
- Pour the heavy cream into a liquid measuring cup, and set aside.
- Set the salt at your workspace.
Make your Salted Caramel
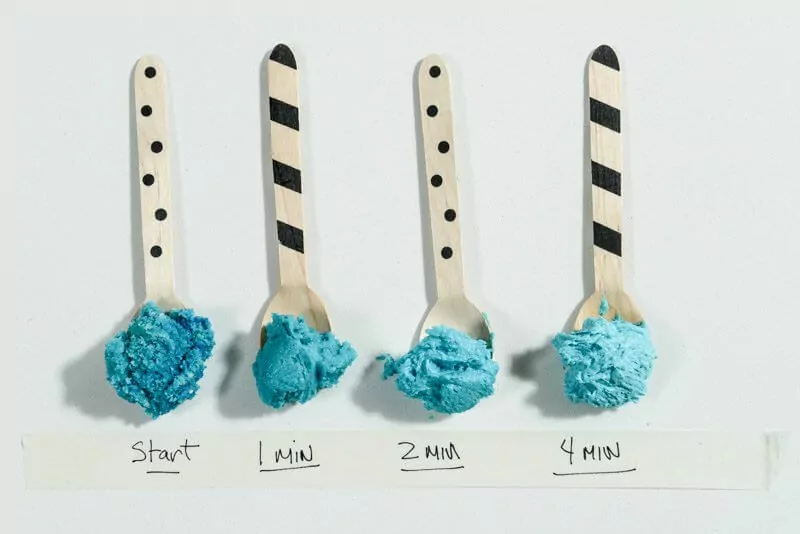
- Heat the dry granulated sugar, stirring constantly. It will begin to clump and soften. In a very short time, the sugar will liquefy and begin to brown. Don’t let the sugar brown too much or it will burn.
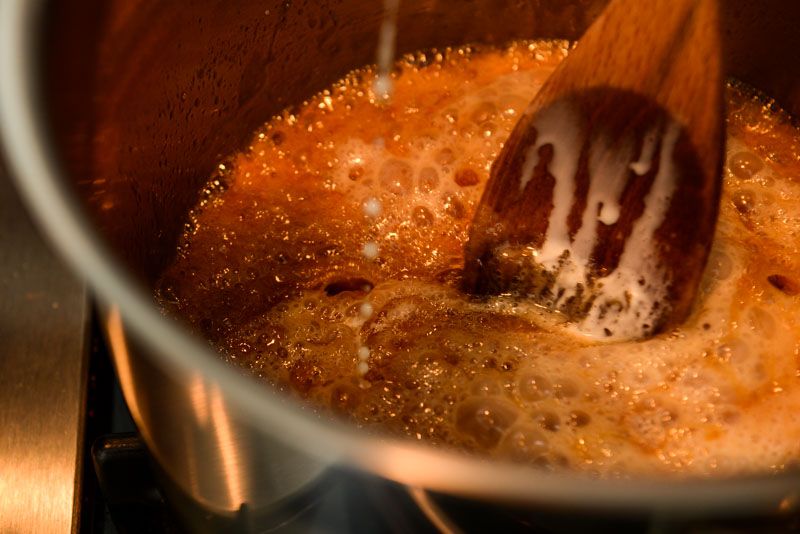
- Once the sugar is a beautiful golden brown, add the butter and stir until it’s completely melted.
- Very slowly, pour the heavy cream into the sugar and butter mixture. The caramel will bubble vigorously. Keep stirring until the reaction calms down. Continue to cook for 1 or 2 minutes more. This will thicken the caramel.
- Add the salt to the caramel. If you’ve used unsalted butter, add a pinch extra salt. Stir until completely combined.
- Pour the salted caramel into a liquid measuring cup. This kind of cup will always have a spout. For more information on the difference between measuring cups, see How to Weigh and Measure.
- Let the caramel cool to room temperature before drizzling onto the cheesecakes.
- The caramel will keep refrigerated for about 2 weeks. Warm it in the microwave for a couple of minutes to loosen. Ut’s delicious over vanilla ice cream.
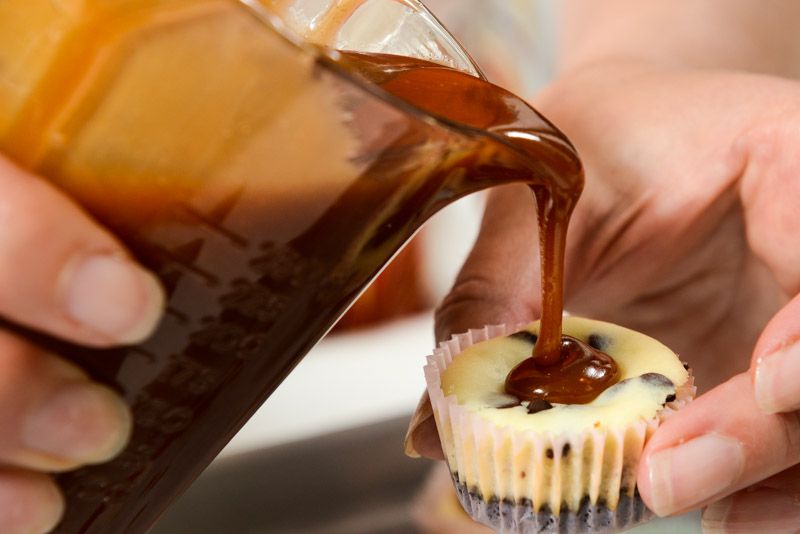
Final Assembly of the Salted Caramel Chocolate Chip Cheesecake
- Very gently and slowly, drizzle a tiny pool of caramel into the depression of each cheesecake.
- Labels
- Chocolate,
- Kids