Peanut Butter Stamp Cookie
January 21, 2017
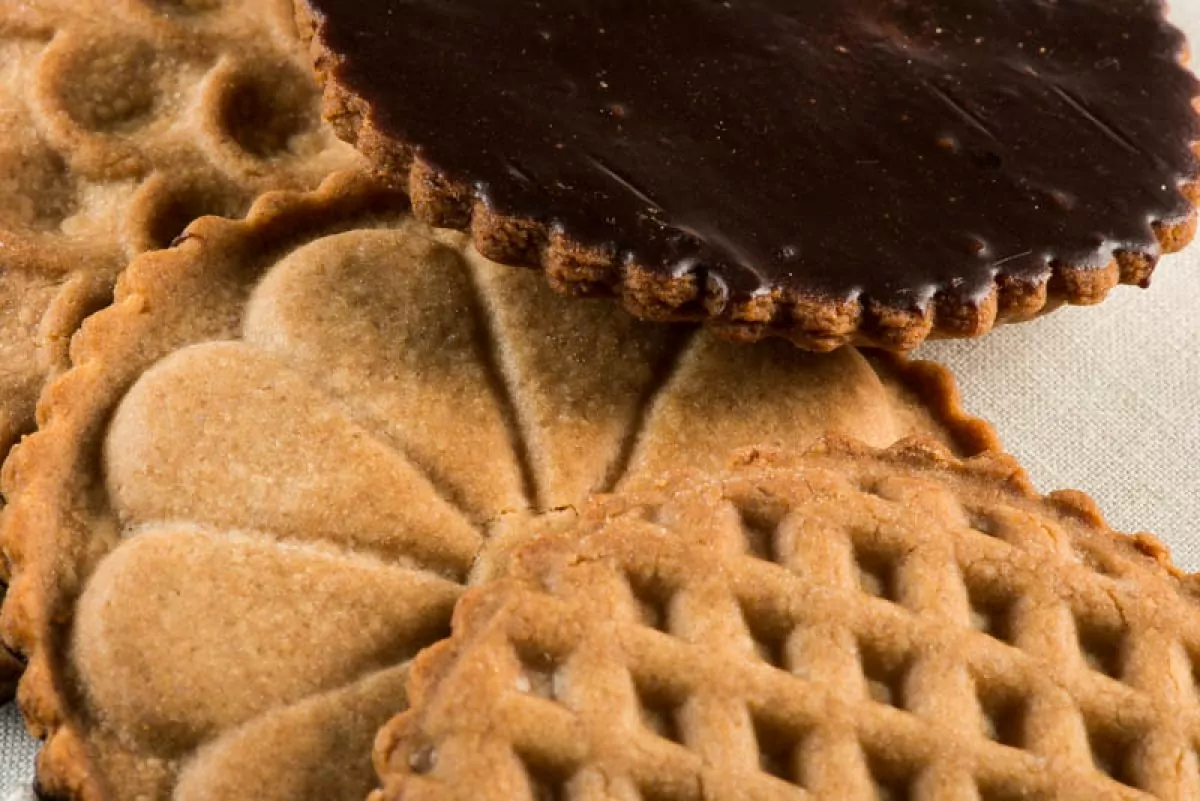
Peanut Butter Stamp Cookies: As early as the Aztecs, peanuts were roasted and crushed into paste for medicinal ointments. Not until 1898 did cereal giant John Harvey Kellogg commercialize peanut butter as a food item. Early peanut butter was dense, so the cookie dough stood up to the rigours of rolling and stamping. The criss-cross fork mark didn’t appear in the peanut butter cookie until 1932, when the Schenectady Gazette published the idea. The following year, Pillsbury popularized the criss cross pattern, claiming that a flattened cookie helped it bake evenly. Heirloom cookie stamps will even out the cookie too. With them, you can emboss the rolled dough in eye-catching designs.
The Finer Cookie returns to tradition with these Peanut Butter Stamp Cookies. To keep the dough sturdy and the baked cookie tender, use oat flour, which has little-to-no gluten. The creamy chocolate glaze balances the crispy texture. What’s the bottom line? You’ll see family and friends stand up and cheer for these Peanut Butter Stamp Cookies. The heirloom stamps are available from Nordic Ware. Use the link below to purchase them. Tell me your impressions in the comment section below.
Thanks to King Arthur Flour for this expert recipe. Here’s their original post.
The Finer Cookie is a participant in the Amazon Services LLC Associates Program, an affiliate advertising program designed to provide a means for websites to earn advertising fees by advertising and linking to amazon.com. This post contains affiliate links, which means The Finer Cookie will receive a small commission if you make a purchase using this link. This modest income helps support the website.
Ingredients
Peanut Butter Cookie Ingredients
- 8 tablespoons 113grams 4 ounces soft unsalted butter
- 1/2 cup 135 grams 4.75 ounces smooth peanut butter grocery store brand (see ingredient note below)
- ¼ cup 50 grams 1.75 ounces granulated white sugar
- 3 tablespoons 64 grams 2.25 ounces honey
- ¼-½ teaspoon ¼-½ teaspoon ¼-½ teaspoon salt
- ½ teaspoon ½ teaspoon ½ teaspoon baking soda
- 1 teaspoon 1 teaspoon 1 teaspoon vanilla
- 1 ¼ cup 149 grams 5.25 ounces unbleached all purpose flour
- 1 ¼ cup 124 grams 4 ⅜ ounces oat flour (see ingredient notes below)
Chocolate Glaze Ingredients
- 4 tablespoons 57 grams 2 ounces unsalted butter, melted
- 1.4 cup 21 grams .75 ounces cocoa powder - dark preferred
- 1 cup 113 grams 4 ounces confectioners sugar
- 1 teaspoon 1 teaspoon 1 teaspoon vanilla
- 2-4 tablespoons 28-57 grams 1-2 ounces milk
Instructions
- Peanut Butter: If you use an all-natural peanut butter, or a low fat peanut butter, this cookie won’t turn out as described. It will be drier. Compensate by adding up to 1 tablespoon of water. If after you add the water the dough doesn’t roll nicely, better to form balls and press them flat with the stamp. If you use an all natural peanut butter, it is essential you increase the salt by 1/4 teaspoon to compensate for the effects of the natural peanut butter.
- Oat Flour: Mill ground oat flour gives the best texture, but If you don’t have finely ground oat flour, you can put rolled oats in a food processor and process as finely as possible. By wizzing the oat flour, the cookie dough could be a bit drier and peanut butter you use, difficult to roll. If this happens, it’s best to roll the cookie dough into balls and press them flat with the stamp. The baked cookie will taste the same, but it will have a different texture.
Mise en Place the Cookie Dough
- What is mise en place and how could it benefit you? See The Finer Cookie’s post How to Mise en Place.
- Measure in a bowl of a mixer the butter, peanut butter, honey, sugar, vanilla and salt. Set aside.
- In a medium size bowl, combine the all purpose flour, oat flour and baking soda.
- If using all natural peanut, set aside one tablespoon of water.
Completing the Cookie Dough
- On medium speed, cream together butter, peanut butter, honey, sugar, vanilla and salt until well combined.
- Gently stir in the flours just until incorporated.
- If the dough is dry and crumbly, stir in up to 1 tablespoon until the dough holds together when pinched.
- Dump the dough onto a clean counter and knead it together until smooth.
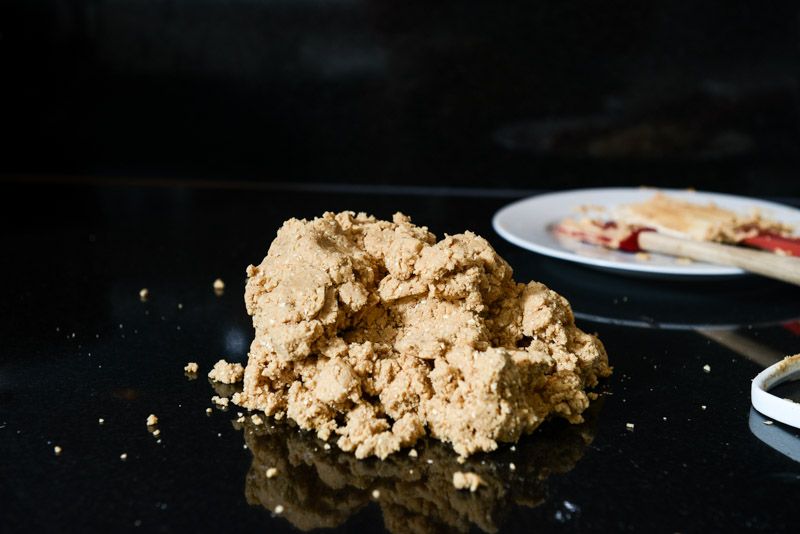
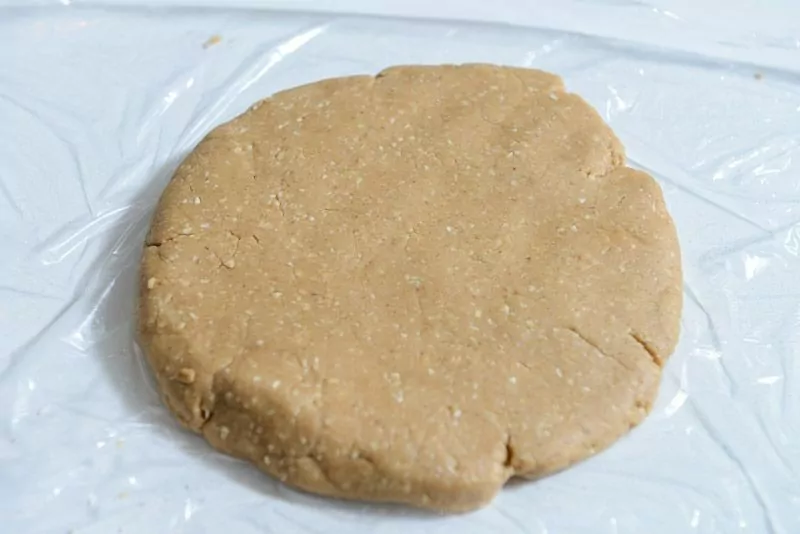
- Divide the dough in half, form each half into a disk, and wrap in plastic.
- Refrigerate for at least 1 hour.
- NOTE: No matter which ingredients you use, make sure the dough is smooth before it goes into the fridge. If there are cracks in the dough prior to it going into the fridge, the cracks will only be worse once it’s cold. You’ll struggle with the dough and that won’t be fun.
Rolling, Stamping and Baking the Cookies
- Preheat the oven to 350F.
- Lightly grease two baking sheets, or line with parchment or a baking liner.
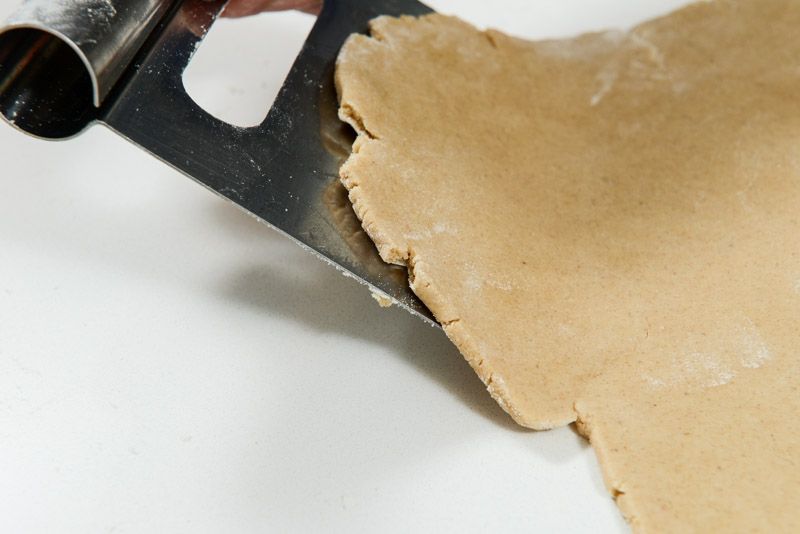
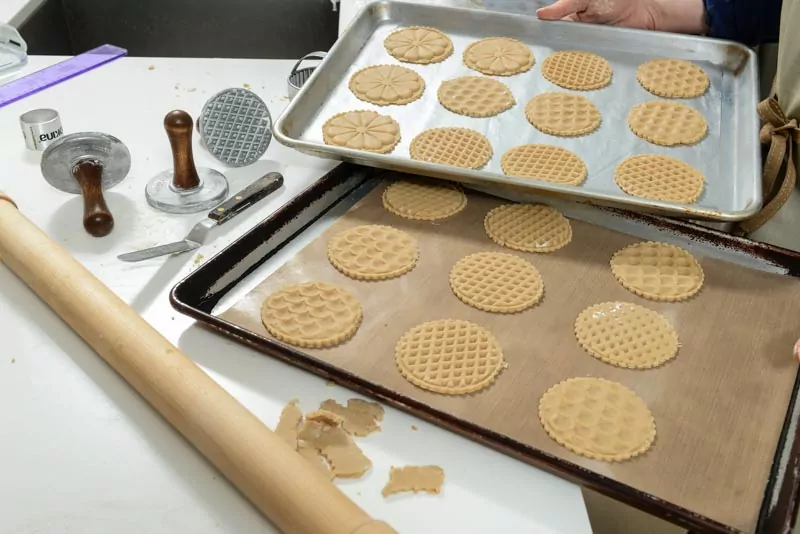
- Working with one piece at a time, place the dough on a lightly floured surface and roll 1/4 inch thick. Any thinner, the stamp might press through the dough.
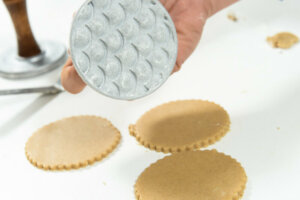
- Using a 3″ fluted round cutter, cut out rounds. 3″ is the same size as the stamp.
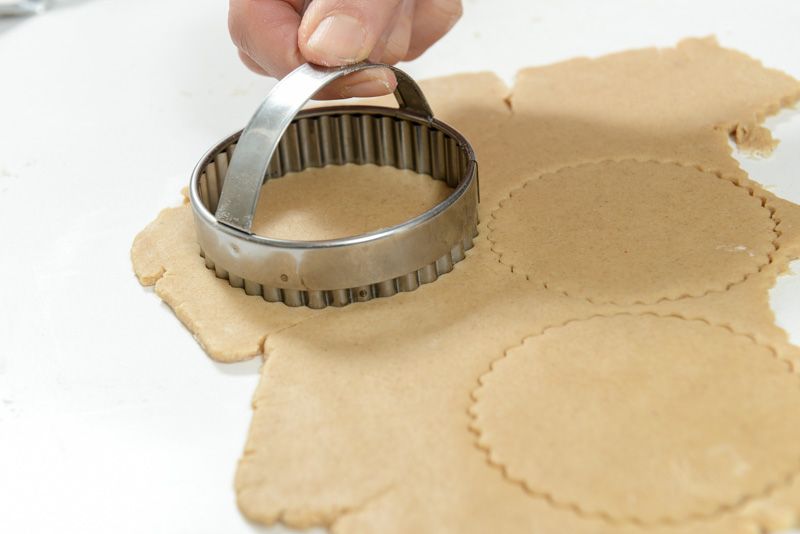
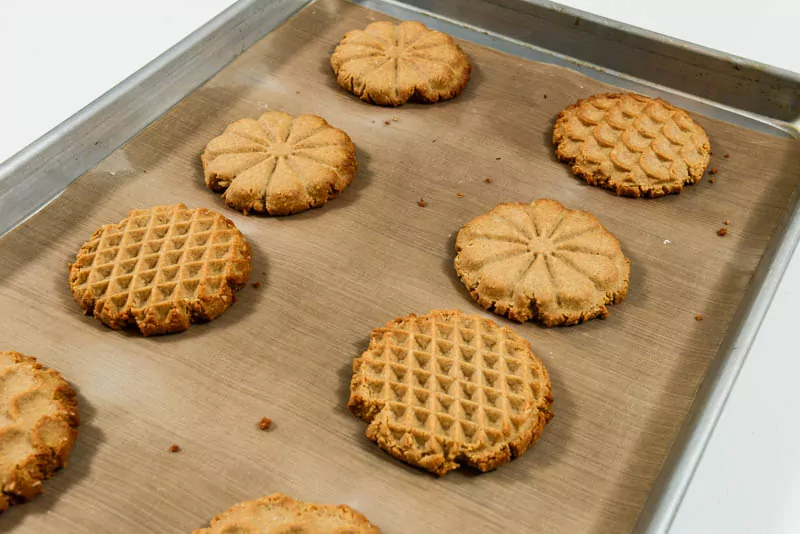
- Choose your stamp
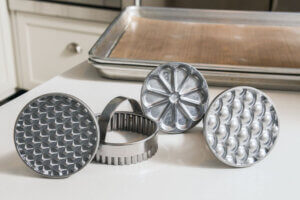
- Dip your stamp into flour just to ensure easy release.
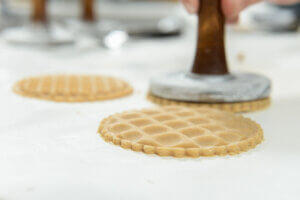
- Press gently and evenly into the cut cookie form.
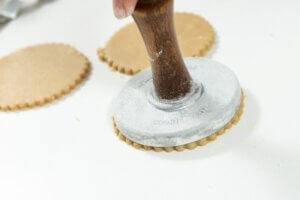
Continue throughout your cut cookies.
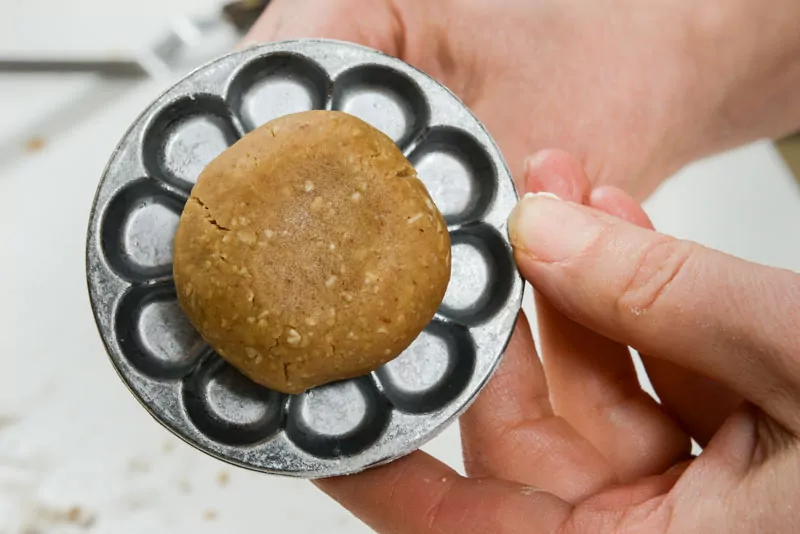
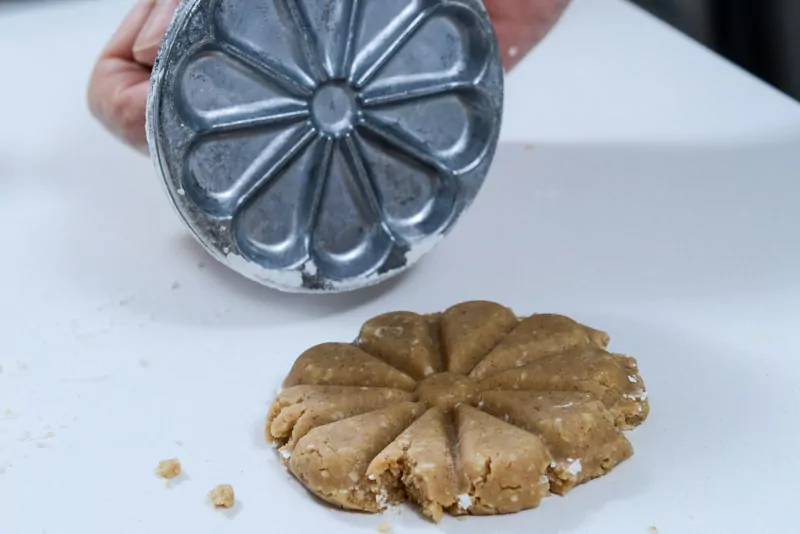
Alternate Method: Stamp your cookies from a ball
- Roll your dough to a smooth even ball. Be certain to prepare all the balls prior to stamping to ensure consistency.
- Dip your stamp into the flour and set your dough ball in the center of the stamp.
- Set the stamp in the center of the stamp.
- Press the dough until you see it come to the edge of the stamp.
- It is very important that you apply pressure vertically and evenly. The dough is very sensitive to the directions you’re pressing.
- Note how much thicker the finished cookie is. The rolled method produces a thinner cookie.
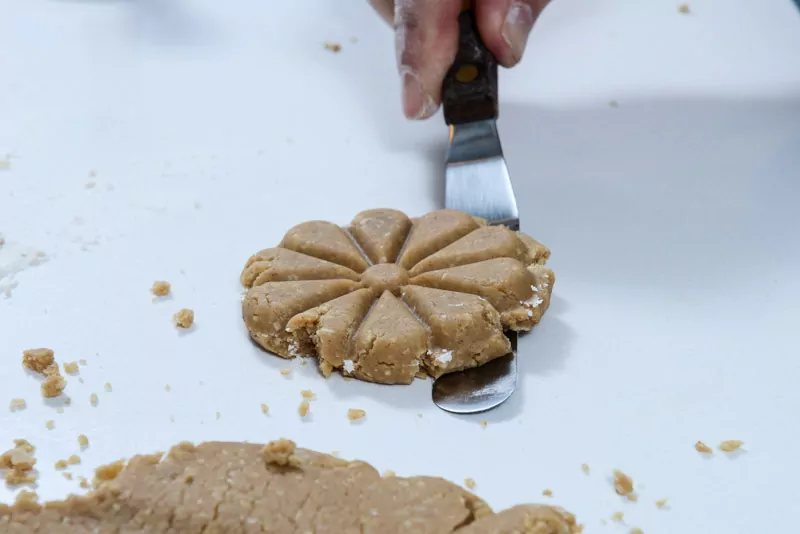
- Lift the stamp gently.
- Because the dough is a little drier and less smooth, you’ll see rough edges. It’s okay. It’s just a different dough.
- From the firm pressing, the cookie will likely stick to the counter. Use an offset spatula to lift it onto the baking tray. Note: resist the urge to flour the counter, as the dough is already a bit dry.
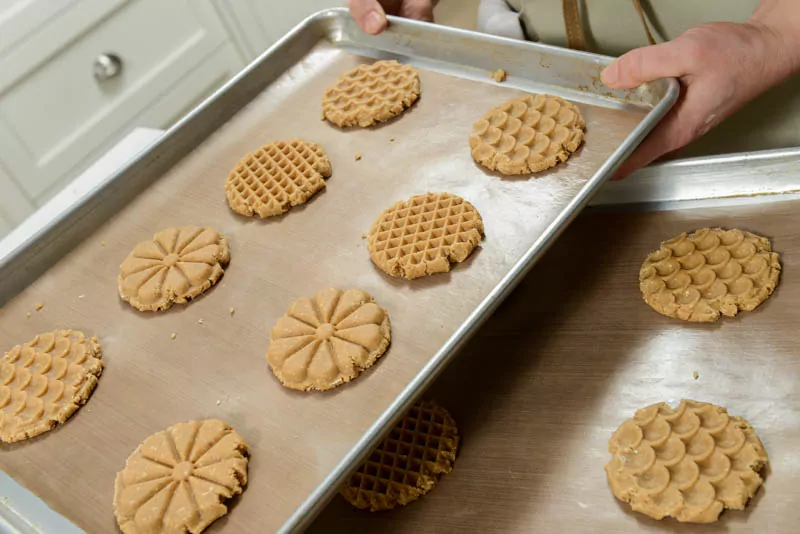
- Bake the cookies for 8-10 minutes, until lightly golden. The stamped might need an extra minute depending on how chewy or crispy you like your cookies.
- The cookies will not spread.
- Cool completely before glazing.
Make the Chocolate Glaze
- Melt the butter first.
- Weigh out all the ingredients directly into a sauce pan with the melted butter.
- Whisk until completely smooth.
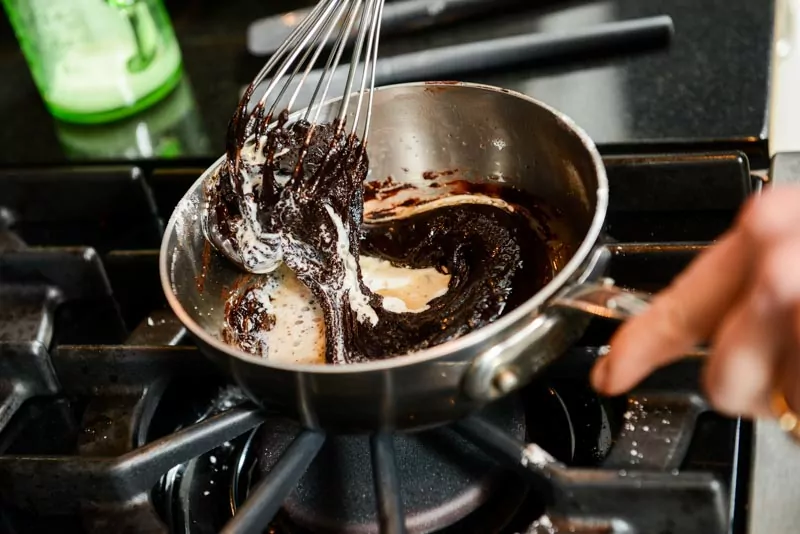
The finished glaze needs to be pourable. It should puddle and slowly and melt into itself. If it’s too loose, refrigerate for a short time to firm the butter. Whisk vigorously to even out the texture. If the glaze is too loose, you’ll have difficulty spreading the glaze neatly.

- Pour the glaze into a measuring cup with a spout.
- Pour slowly and gently into the center of the backside of each cookie.
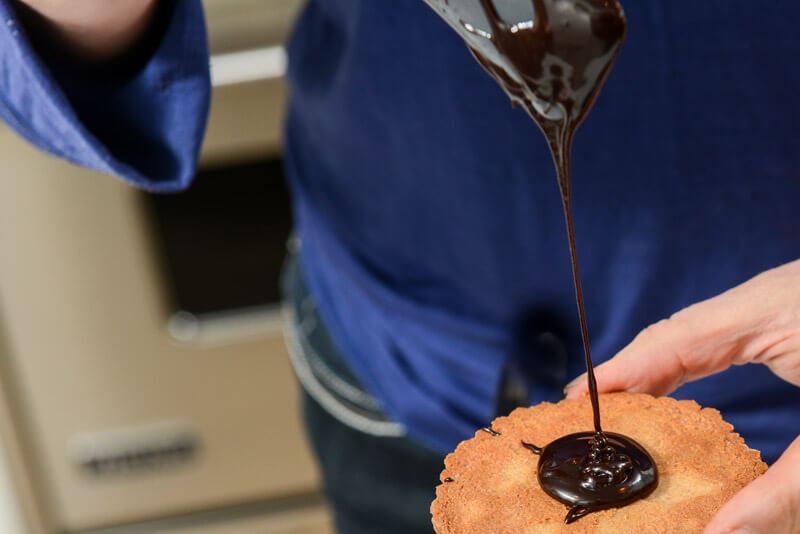
- With an offset spatula, spread from the center of glaze puddle to the outer edges of the cookie. Rotate the cookie throughout the process. If the glaze is the right texture this process will be clean, simple and fast.
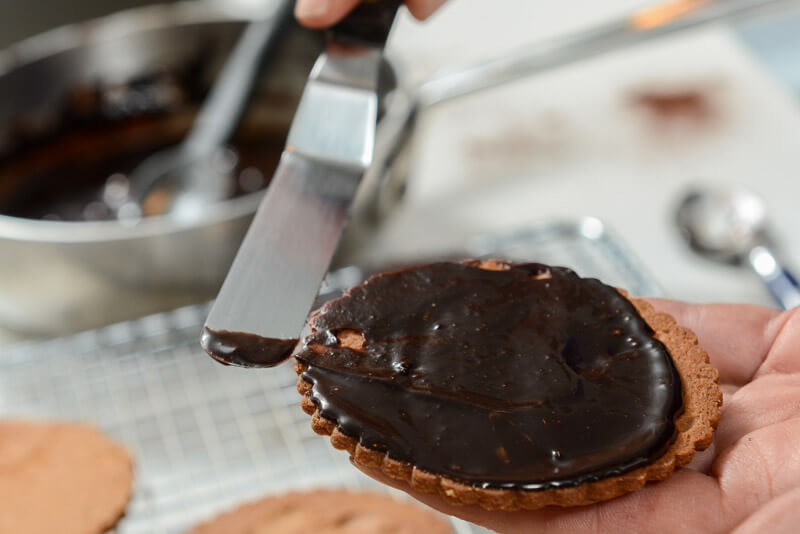
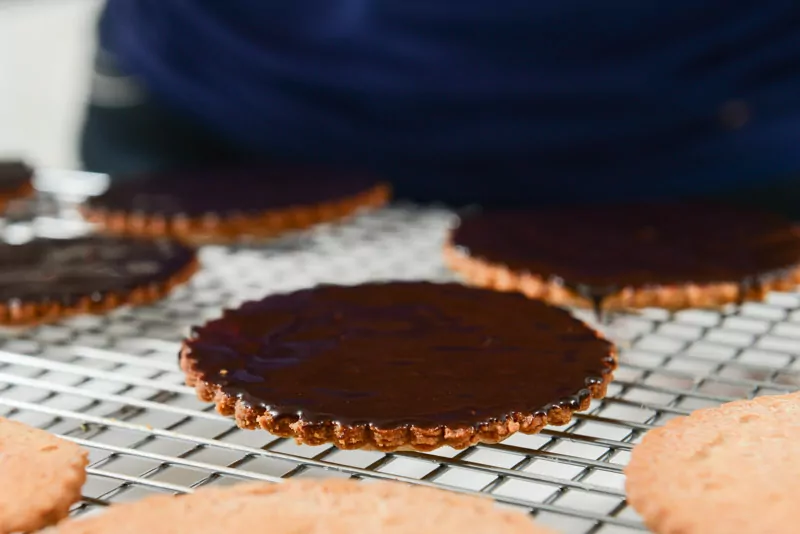
- Set the glazed cookie onto a cooling rack to allow the glaze to cool and set.

- Labels
- Chocolate,
- Cut Outs
- Tags
- Chocolate,
- Peanut Butter