Pink Pearl Lady Cake
March 10, 2015
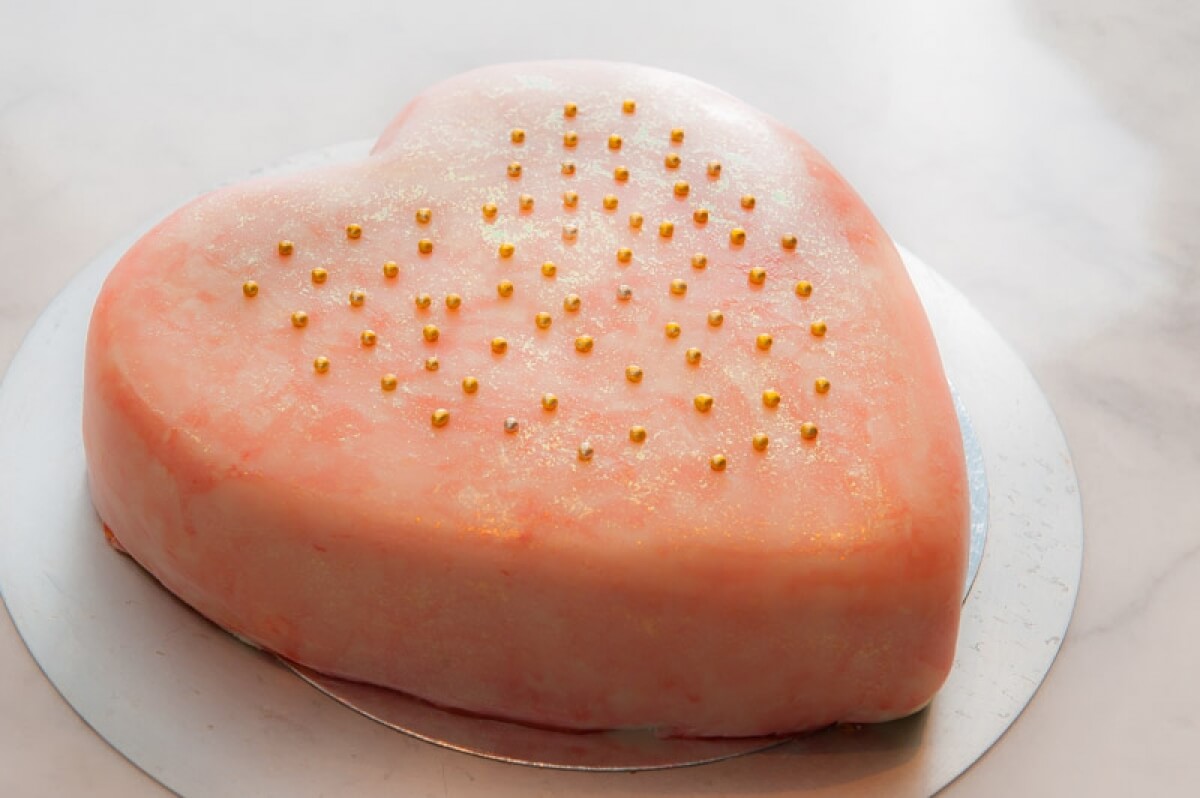
Oh sweet 16. A special celebration needs a special cake, and the Pink Pearl Lady Cake couldn’t be more perfect. The cake itself is tender and moist. The filling is creamy and smooth. The fondant is flavourful, and the birthday girl is thrilled! She gave me such a nice hug–in fact the whole family did and her brothers placed their orders for their birthday cakes. Cake is what makes the world go around.
The Finer Cookie is a participant in the Amazon Services LLC Associates Program, an affiliate advertising program designed to provide a means for us to earn fees by linking to Amazon.com and affiliated sites.
Ingredients
Instructions
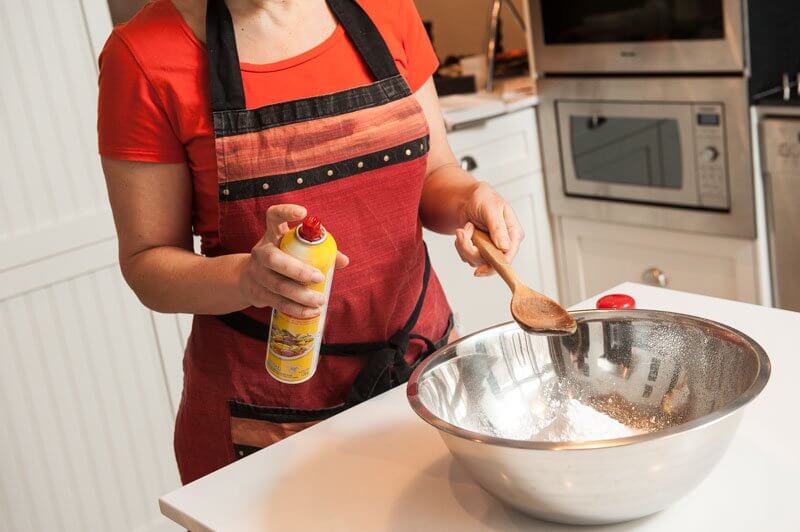
CAKE BATTER
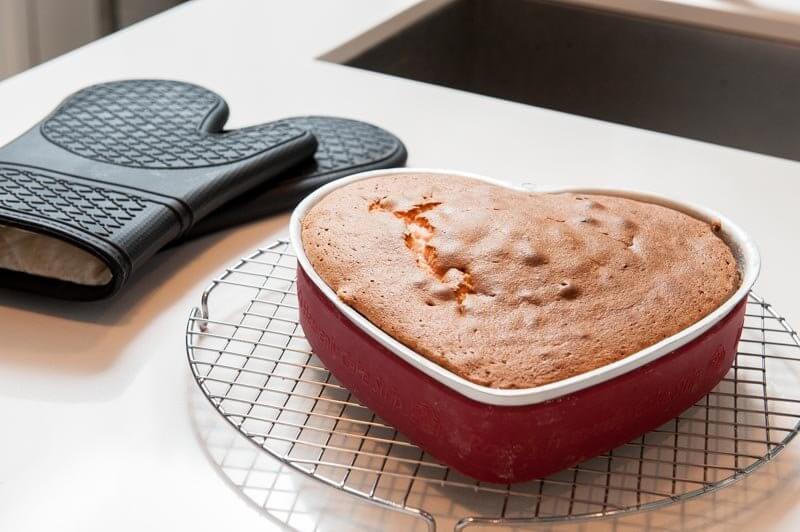
- I’ve had this heart shaped pan for about 10 years and never used it. I hadn’t even taken the label off, but I knew exactly where it was and gave it a good washing out.
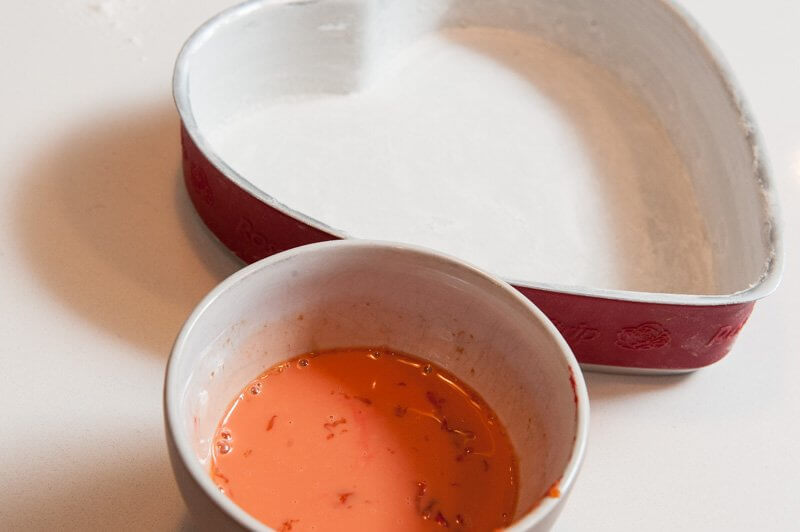
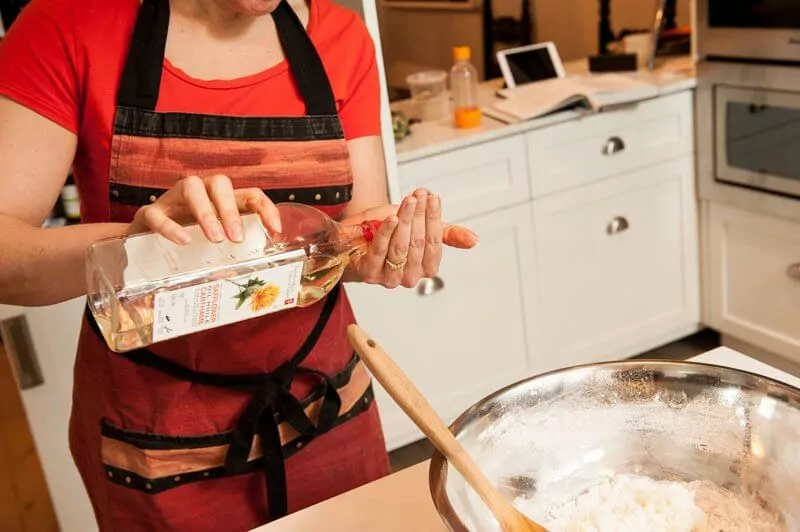
- The batter went together easily, and I dabbed a touch of Christmas red gel in the egg yolks and crossed my fingers the cake wouldn’t be too red or a yucky yellow pink.
- It baked with a big crack in it. Darn. No, I didn’t make a cupcake, I just poured all the batter into the cake pan. Aside from the crack, the cake came out well.
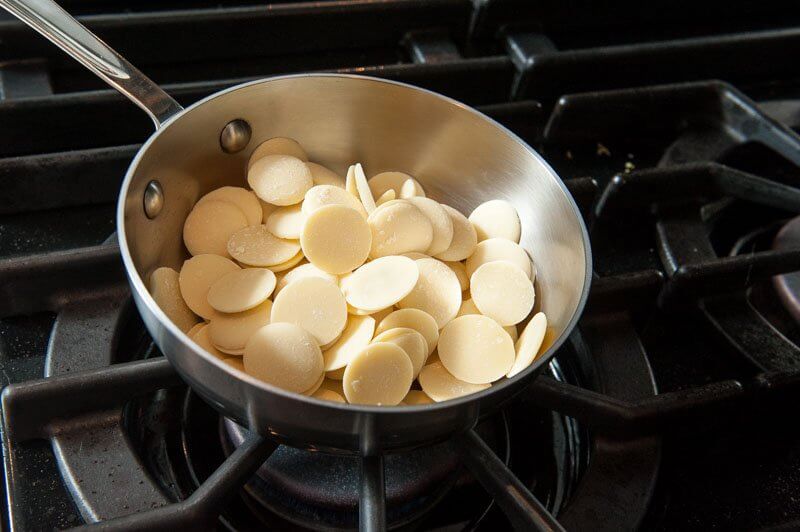
WHITE CHOCOLATE FONDANT
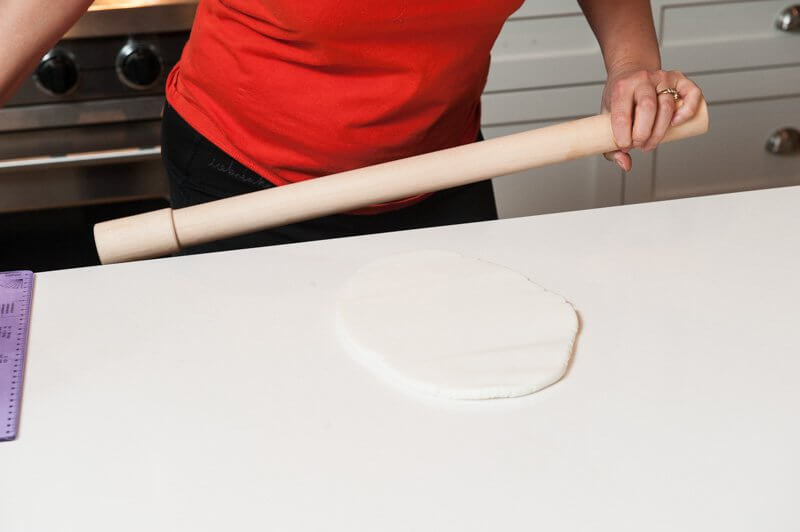
- Cooled white chocolate and corn syrup–I found this to be a strange material. It seemed to take forever to cool below 75 degrees, but when it did, it rolled easily. It was fascinating stuff.

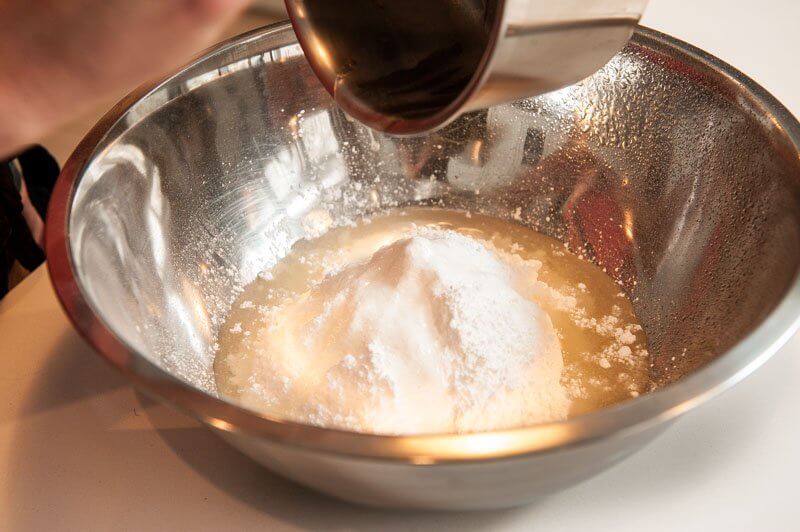
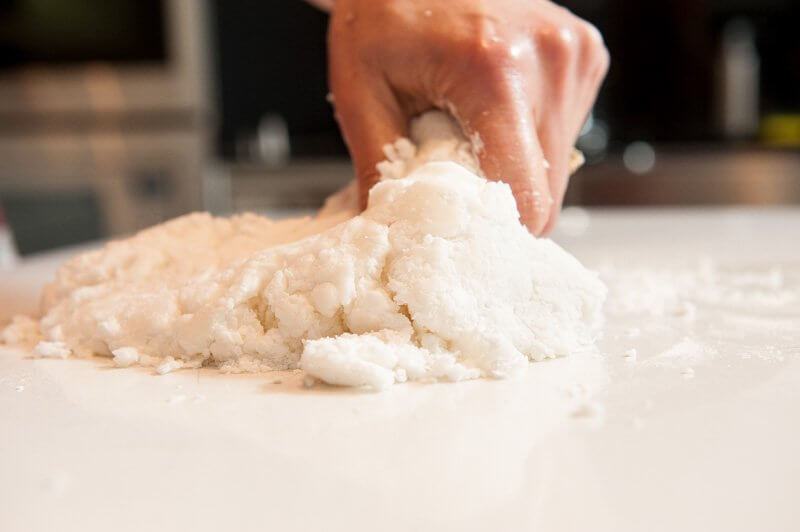
CLASSIC ROLLED FONDANT BASE
- Fondant is fascinating stuff. I wasn’t apprehensive because I’ve made it before from the Cake Bible. This batch however was very, very stiff. Fighting with it, I thought “shouldn’t there be water in this?” The Cake Bible. said to add water, so I double checked with the Baking Bible, and I realized I had FORGOTTEN to add the water. Honestly, I don’t know what’s wrong with me these days. So I dribbled it, and kneaded it. Dribbled some more and kneaded it again. When the fondant felt sticky, I let it sit for a few minutes so that the moisture could distribute. I repeated these steps until my fondant was smooth, shiny and malleable. I saved it.
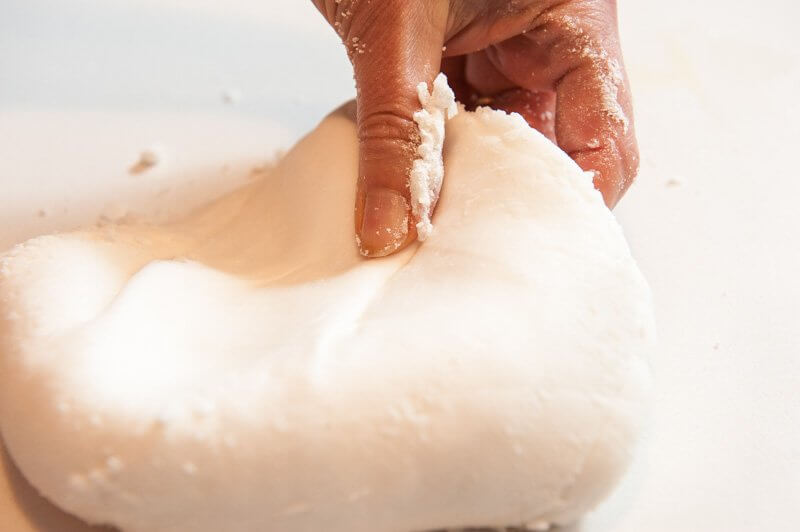
COMPLETING THE WHITE CHOCOLATE FONDANT
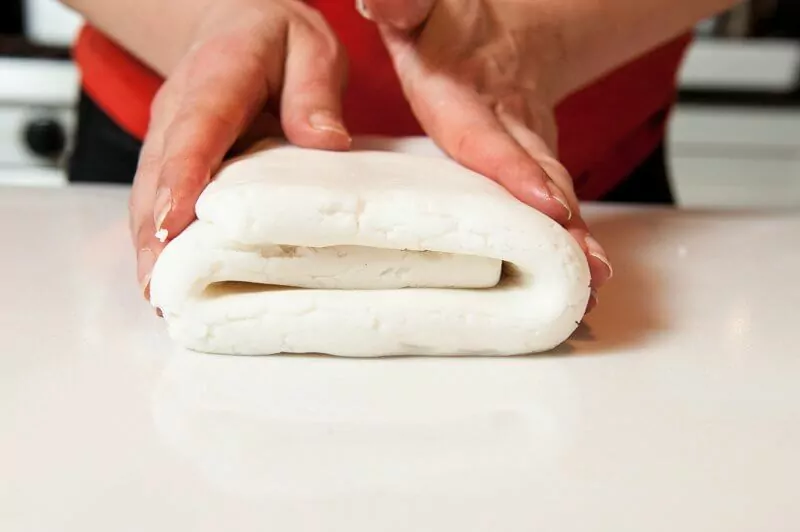
- More fascination as the two materials blended together.
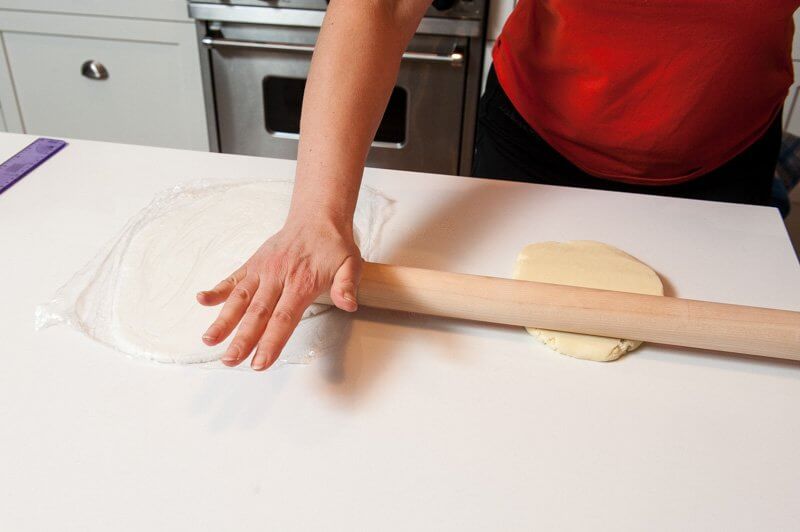
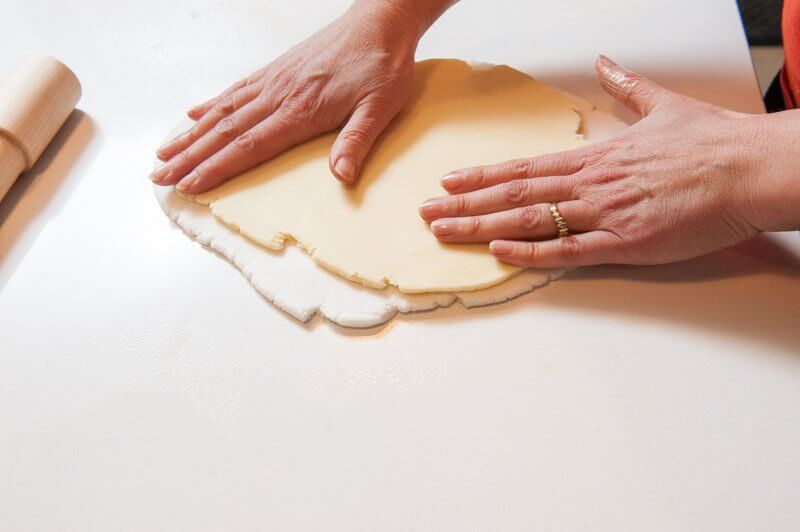
- I just continued to biz-fold the two and roll them together until the color was uniform. Then I wrapped it well and put it away for the night.

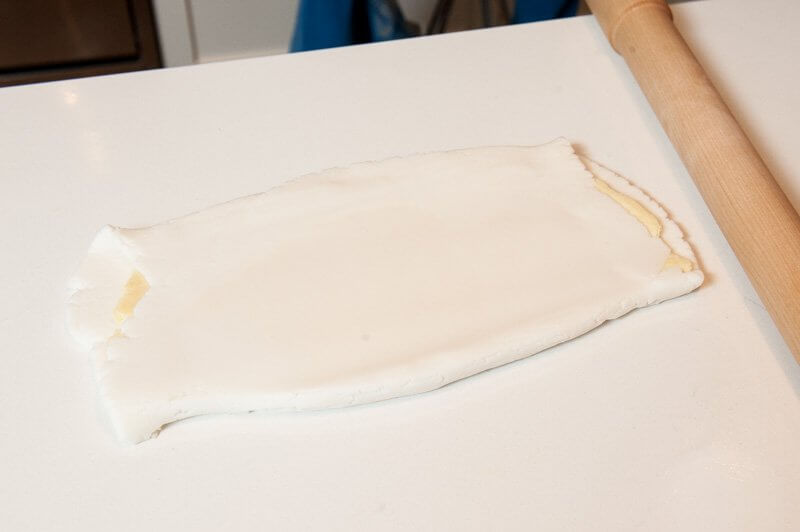
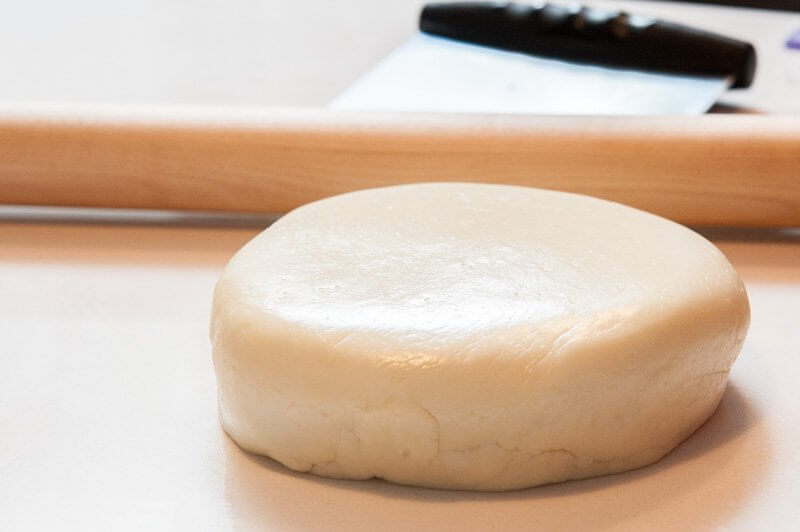 Beautiful, shiny white chocolate fondant ready for the cake.
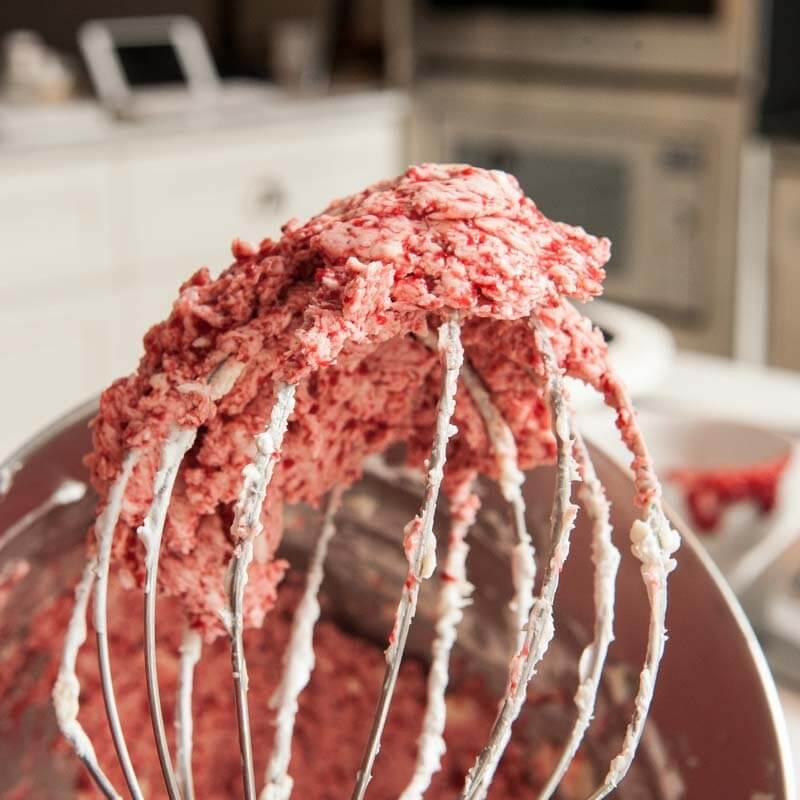
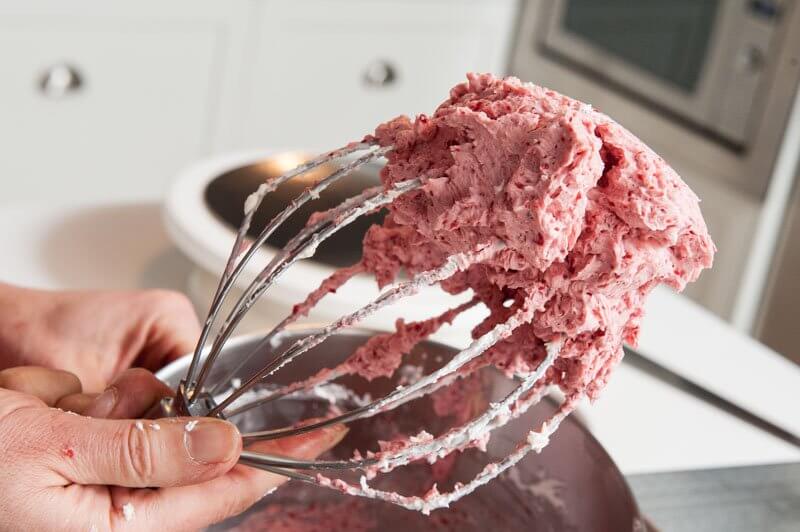
STRAWBERRY MOUSSELINE
-
- Strawberry Butter? I didn’t have any energy to go hunting hell’s half acre for a jar, but I did have 1 kilo of frozen strawberries. I’ll make a purée, since the Cake Bible gave me the instructions.

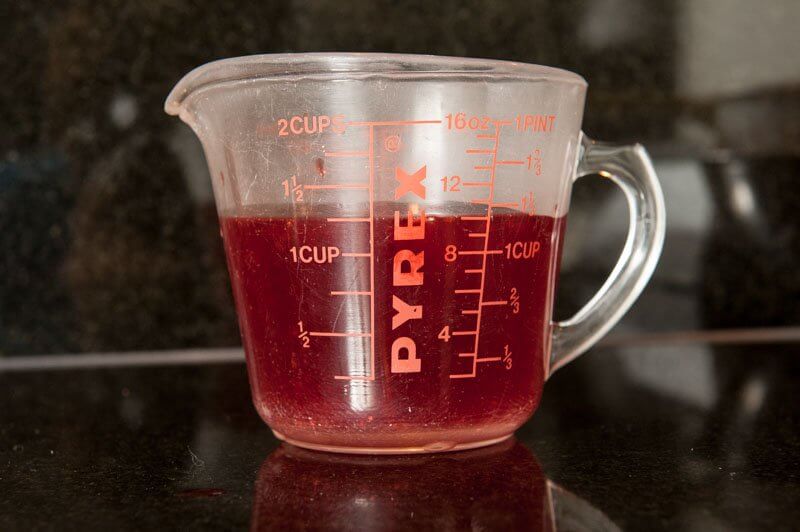
- After draining 1 kilo of frozen strawberries, I reduced the juice and whizzed the reduced syrup with what was left of the pulp. I poured the purée into a saucepan and continued to cook the water out. The texture was better, but the flavour still lacked. I sprinkled sugar, red food colouring, and lemon juice and realized, the strawberries had no flavour and weren’t good enough.
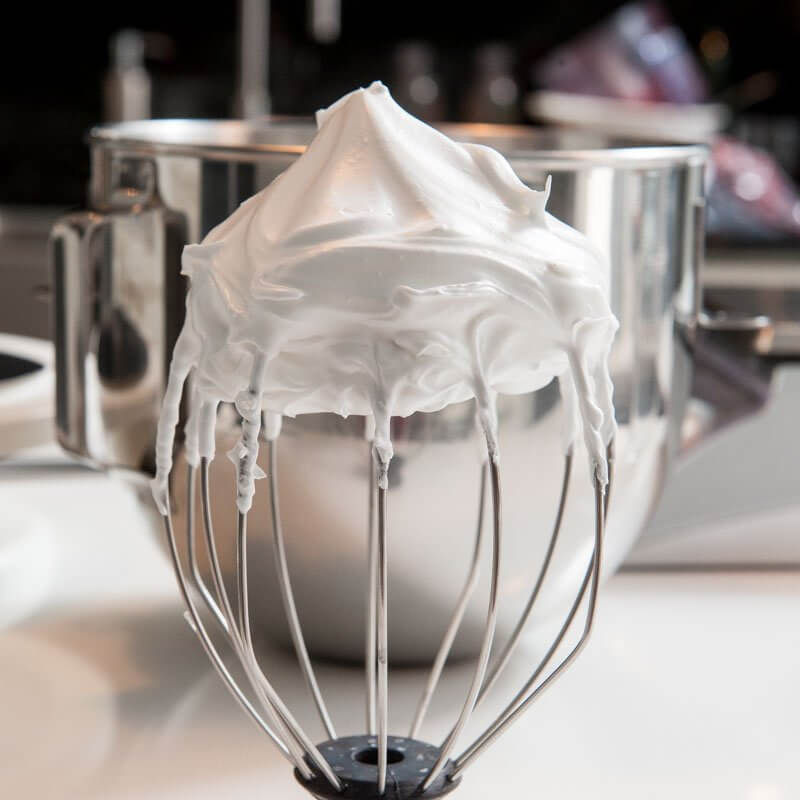
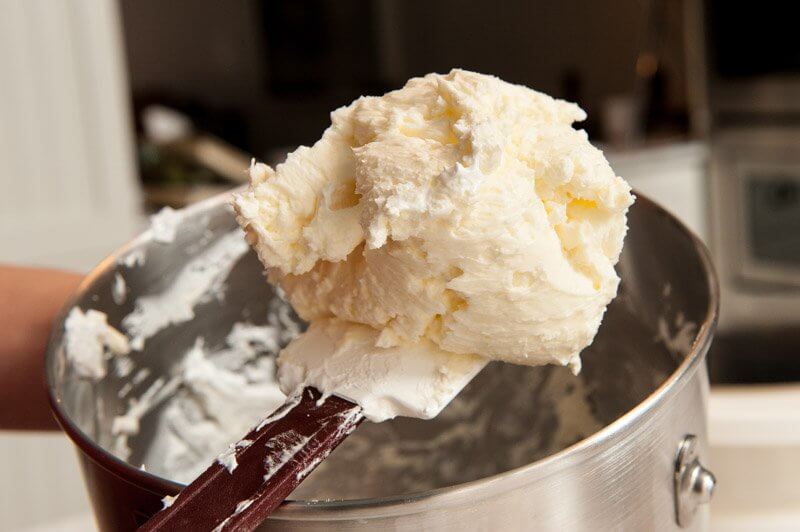
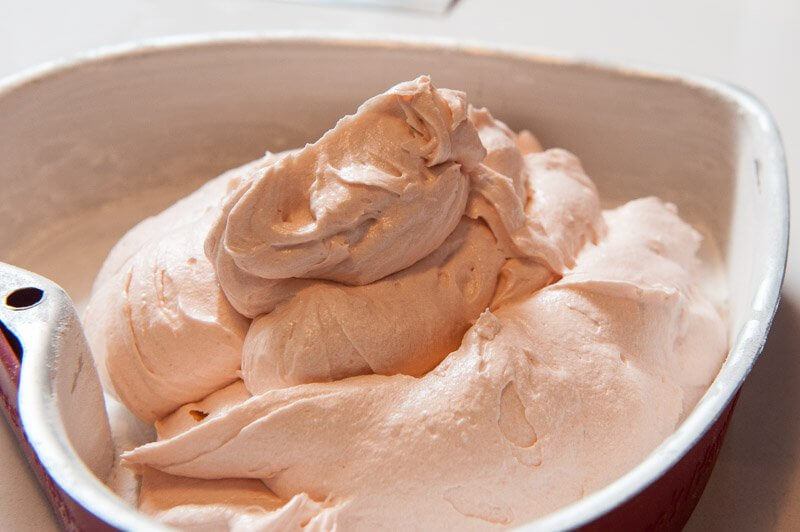
- Holding the mixing bowl over a flame for two seconds to warm cold buttercream whips into a smooth and emulsified mixture. Repeat if necessary.
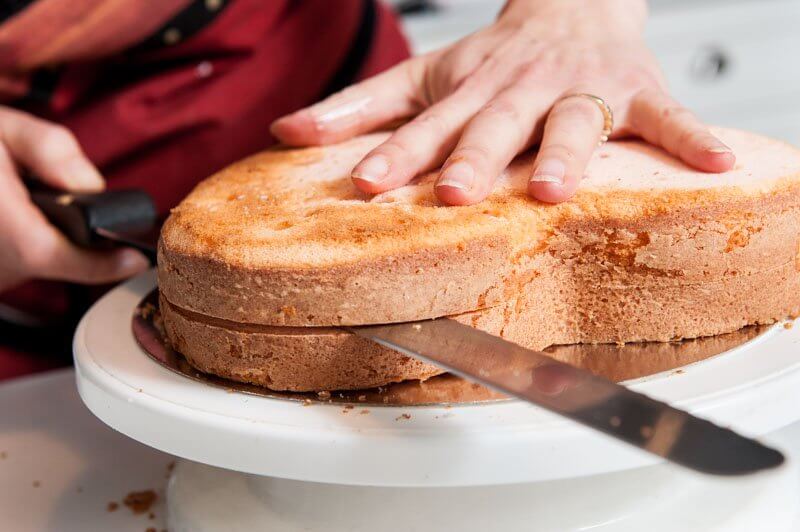
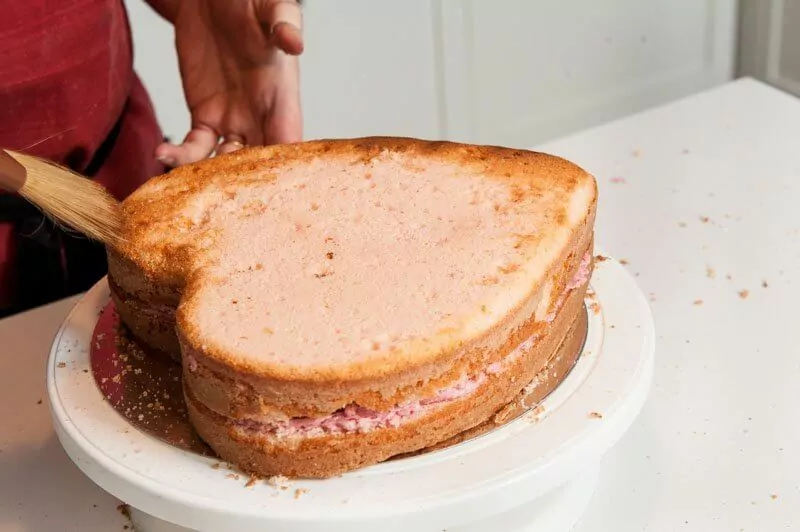
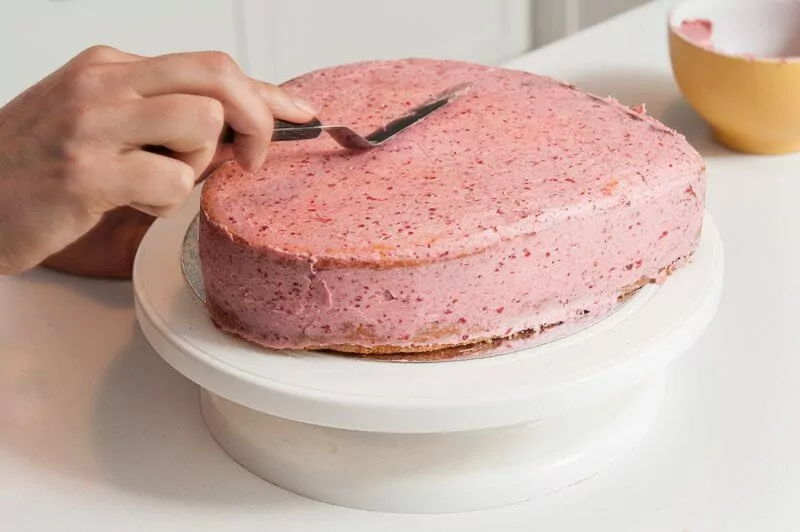
BEVEL THE CAKE
- I know from past experience, the fondant is sensitive to every imperfection underneath it. It doesn’t like to lay over sharp edges or lumpy, bumpy cakes. So I really took my time to prepare the cake to be level, beveled and crumb free.
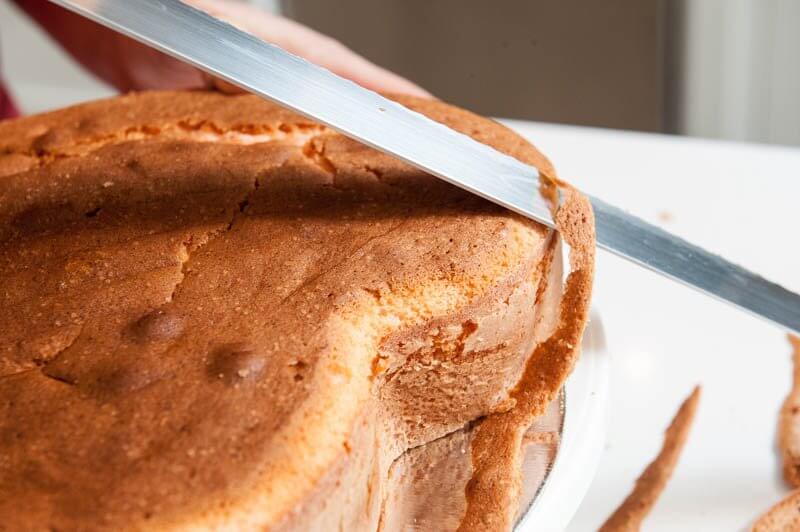
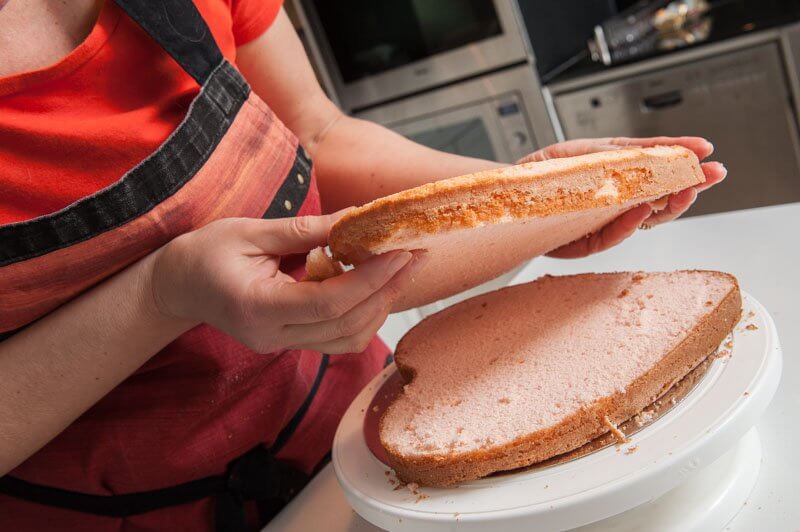
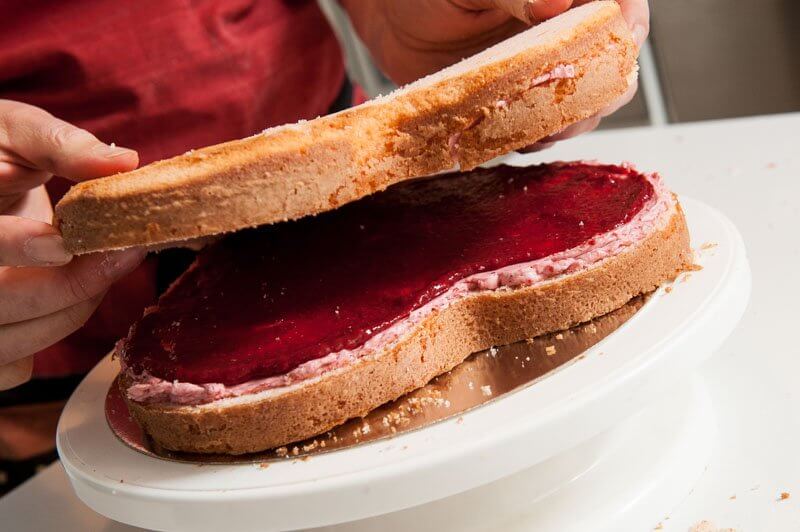
- You just can’t be a whoose about cutting a cake in half. Make your cuts, be swift and don’t baby the knife or the cake. Just do it, remove the top layer and trust that the baked cake will be flexible and strong enough to survive the handling.
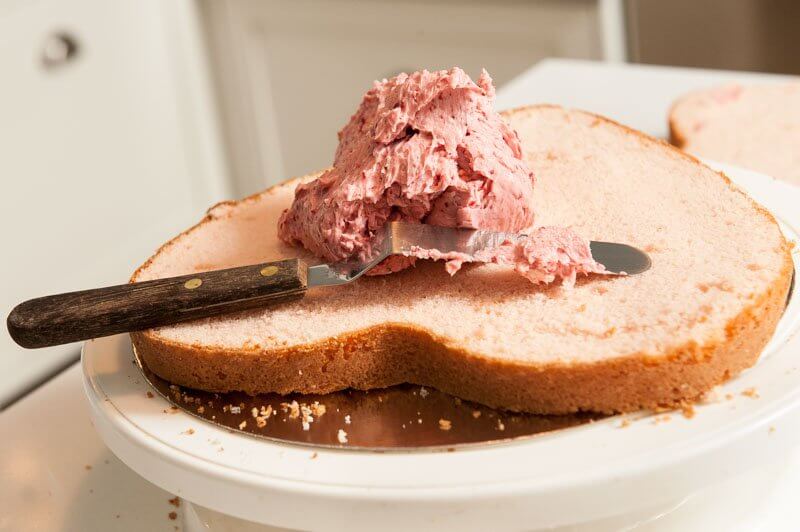
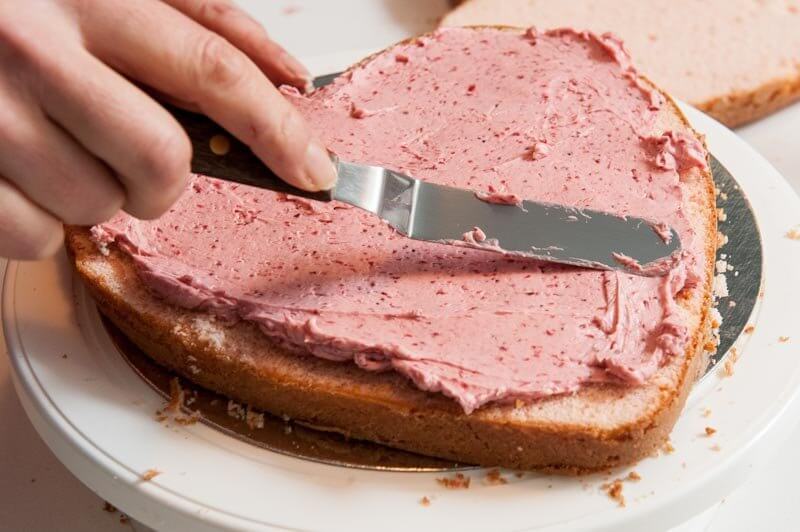
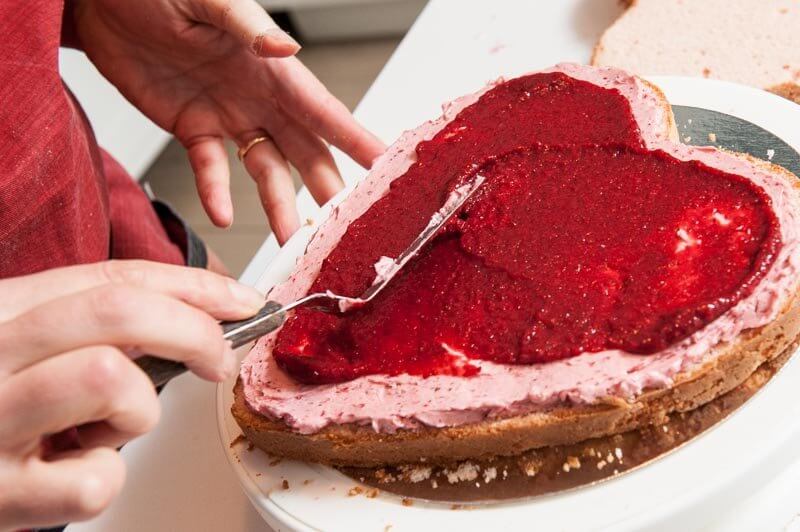
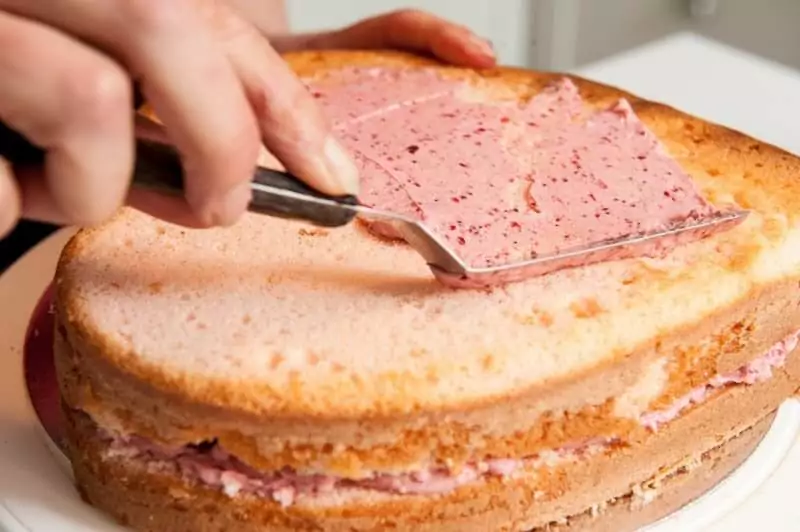
APPLY THE UNDERCOAT
- Again, this is the final preparation before laying the fondant over the cake. Spackle time. Now’s my chance to fill in the big crack, make the sides clean and straight, pack the holes with buttercream. Then chill it for a second coat.
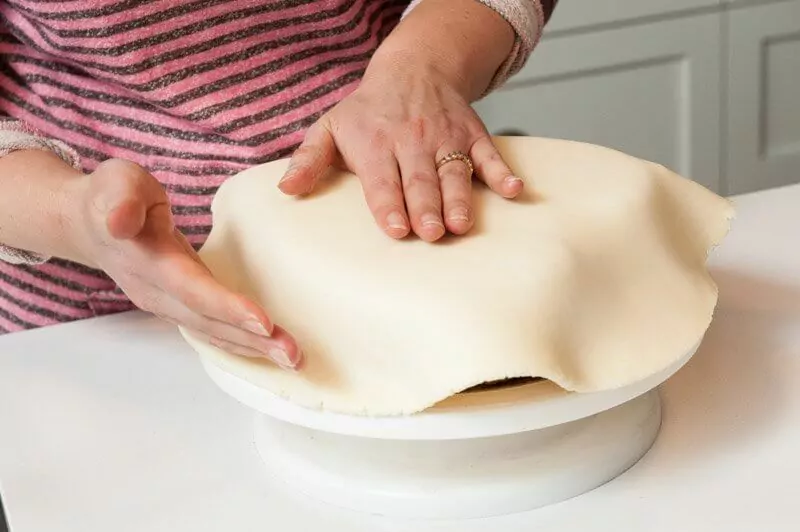
- Once the crumb coat is intact and looking ready for the fondant, I rolled the fondant and eased it over the cake. Fondant is like a magic material as it stretches and seals.


- The warmth of my hand smoothed out any imperfections and nicks and makes the surface pearly. Touching the fondant is so pleasurable at this stage.
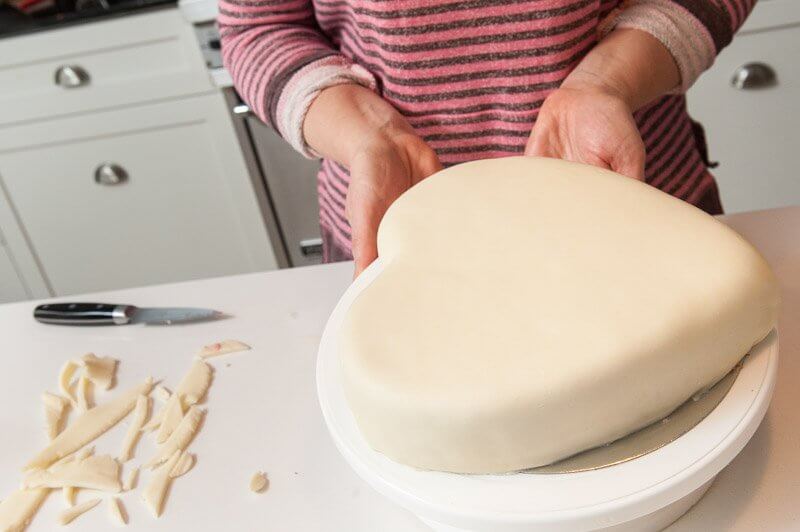
- Starting on the sides, I pressed the fondant firmly to the cake, trimmed, smoothed, stretched it into place. Making sure there were no air bubbles in the fondant. I just kept working into the crevice and around the point.
MAKE THE PEARLS
- I didn’t have a dark pink lustre dust, like Rose had used. The luster colours that I had didn’t look nice against the ivory fondant. So I pulled out my pretty pink gel colouring and started to play with what I had.
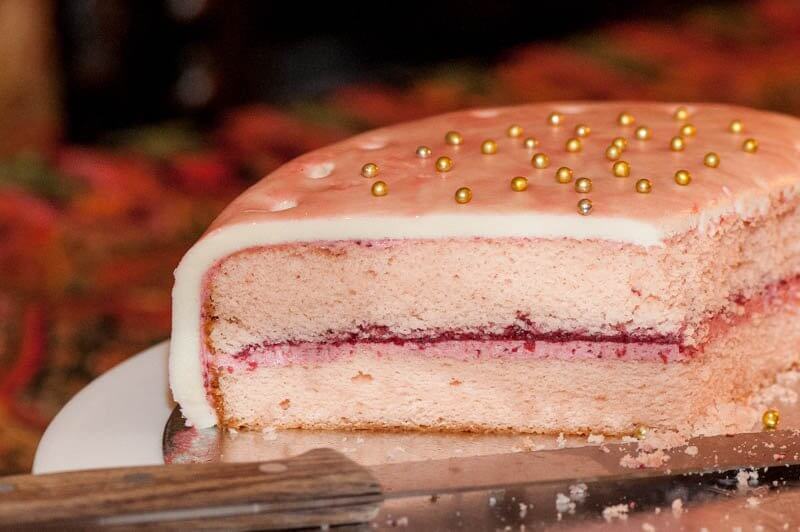
- In the end, I chose to mix a bit of vodka, disco dust and pink gel colouring and paint the surface of the cake. The cake looked good, but the fondant was a bit sticky, but dried nicely. In retrospect, I should have folded the lustre and the pink gel to the fondant before rolling. I would have had a nicer effect.
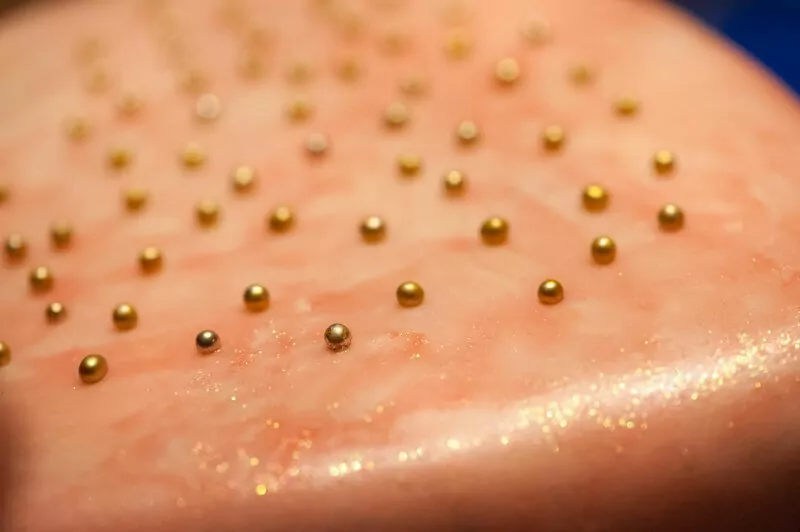
- I could have made the fondant pearls, but instead used gold dragrees that I had kicking around. I liked the gold color on the pink cake.

- WHAT ARE THE ALPHA BAKERS? : Here’s how it works: once a week, for the next two years, 25 Alpha Bakers commit to baking their way through every recipe of Rose Levy Beranbaum’s newly published The Baking Bible. Each week we post our experiences on our blog sites: our successes, our failures, our likes and dislikes. The recipes are scheduled in advance so that everyone will be baking the same recipe at the same time. Unfortunately, no recipes can be shared in my Alpha Bakers posts due to publishing restrictions, but if you love to bake, The Baking Bible. is a must-have book. You can see other tutorials for the same recipe at the following link The Baking Bible Alpha Bakers at http://rosesalphabakers.blogspot.ca/.
- Labels
- Alpha Bakers
- Tags
- Apple,
- Baking Bible,
- Cake